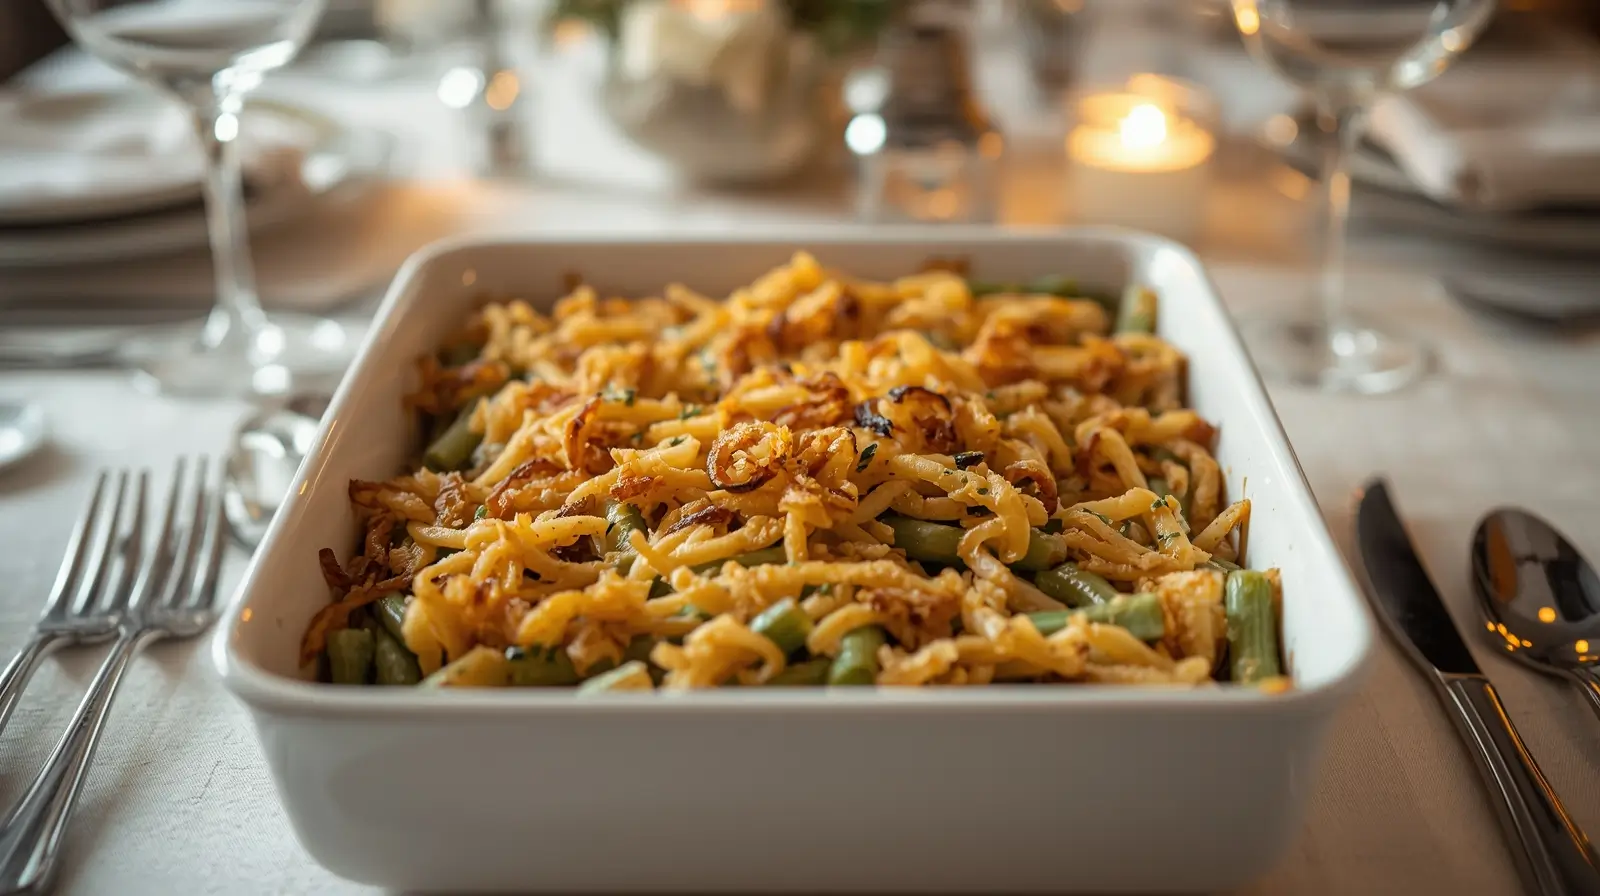
How to Make Irresistible Green Bean Casserole with Fresh Beans
For years, I followed Campbell’s green bean casserole recipe from the soup can – you know the one. It’s been a Thanksgiving staple since 1955 for good reason. But then I tried making green bean casserole with fresh green beans instead of canned, along with a homemade mushroom sauce, and honestly? There’s no going back.
This green bean casserole with fresh green beans keeps everything you love about the original – that creamy, savory comfort with crispy fried onions on top – but the beans actually have some snap to them, and the sauce tastes like real mushrooms instead of mushroom-flavored paste. My brother-in-law, who normally just tolerates green bean casserole, had three servings and asked for the recipe. That’s when I knew this version was a keeper.
What’s in this guide:
After the complete recipe instructions, you’ll discover tips for customizing, storing, and troubleshooting this classic comfort dish.
Recipe Overview
| Prep Time | Cook Time | Total Time | Servings |
|---|---|---|---|
| 15 mins | 30 mins | 45 mins | 8-10 |
Ingredients

For the Fresh Green Beans:
- 2 lbs fresh green beans, trimmed and cut into 2-inch pieces
- 1 tablespoon salt (for blanching water)
- Ice bath ready (large bowl with ice and cold water)
For the Homemade Mushroom Sauce:
- 4 tablespoons butter (half a stick)
- 12 oz fresh mushrooms, thinly sliced (cremini or baby bella work beautifully)
- 3 cloves garlic, minced fine
- 1 medium yellow onion, diced small
- 4 tablespoons all-purpose flour
- 2 cups whole milk (don’t skimp and use skim – you need the richness)
- 1 cup chicken or vegetable broth
- 1 teaspoon soy sauce (trust this addition – it adds incredible depth)
- 1 teaspoon fresh thyme leaves (or 1/2 teaspoon dried)
- 3/4 teaspoon sea salt
- 1/2 teaspoon freshly ground black pepper
- 1/4 teaspoon nutmeg (optional but adds warmth)
For the Topping:
- 2 1/2 cups French’s fried onions (or homemade if you’re feeling ambitious)
- 1/2 cup panko breadcrumbs mixed with 2 tablespoons melted butter (for extra crunch)
Optional Flavor Boosters:
- 1/2 cup shredded sharp cheddar or Gruyère cheese
- 2 tablespoons additional chicken or vegetable broth (adds richness to the sauce)
- 1 tablespoon Dijon mustard
Kitchen Timing Breakdown
Planning Your Cook Time
This fresh green bean casserole requires a bit more hands-on time than opening cans, but it’s still totally manageable for a weeknight dinner or holiday spread. The beans blanch in just 4 minutes, and while they’re cooling, you can start your sauce. The whole thing comes together in about 45 minutes, with most of that being oven time when you can focus on other dishes.
Temperature Matters for Perfect Results
We’re baking at 350°F – hot enough to bubble that creamy sauce and toast the topping without drying out the beans. If you’re making this alongside a turkey or roast at a different temperature, you’ve got some flexibility. At 325°F, add 10 minutes. At 375°F, subtract 5 minutes and watch the onions carefully so they don’t burn.
Timeline at a Glance
| Stage | Temperature | Duration |
|---|---|---|
| Blanching Green Beans | 212°F (rolling boil) | 4-5 minutes |
| Ice Bath Cooling | Ice cold water | 3 minutes |
| Sautéing Mushrooms | Medium-high heat | 8-10 minutes |
| Making Sauce | Medium heat | 8-10 minutes |
| Oven Preheat | 350°F | 10 minutes |
| Baking Casserole | 350°F | 25 minutes |
| Resting Before Serving | N/A | 5 minutes |
Building This Casserole from Scratch
How to Make Green Bean Casserole
Getting Started:
- Rinse your green beans under cold water and snap off the stem ends – you can leave the little tail on the other end, it’s totally fine
- Line them up in small batches and cut them into roughly 2-inch pieces so they’re bite-sized
- Bring a large pot of water to a rolling boil and add that tablespoon of salt
- While it’s heating, prepare your ice bath in a big bowl nearby
The Blanching Process:
Why blanch? That quick dip in boiling water followed by the ice bath does two important things. First, it sets the bright green color so your casserole looks appetizing instead of army-green. Second, it partially cooks the beans so they finish perfectly in the oven without turning to mush. Raw beans would be too crunchy, and fully cooked beans would be too soft after baking. This method hits the sweet spot.
- Drop the beans into the boiling water and set a timer for exactly 4 minutes
- You want them bright green and crisp-tender, not mushy – they should still have some snap when you bite into one
- Immediately drain and plunge them into that ice bath to stop the cooking
- This step keeps them vibrant green and prevents that drab olive color nobody wants
- Let them sit for about 3 minutes, then drain thoroughly and pat dry with a kitchen towel
Creating Your Mushroom Sauce Base
Building Flavor Layer by Layer:
- Heat the butter in a large, deep skillet over medium-high heat until melted
- Add your sliced mushrooms and don’t stir them for the first 3 minutes – let them get some golden color
- Once they’ve released their moisture and started browning, add the diced onion
- Cook together for another 5 minutes until the onions are soft and translucent
- Add the garlic and thyme, stirring for about 30 seconds until aromatic
Making the Creamy Sauce:
- Sprinkle the flour over the mushroom mixture and stir constantly for about 2 minutes – this cooks out the raw flour taste and creates your thickening base
- Slowly pour in the milk, whisking continuously to avoid lumps
- Add the broth and that sneaky tablespoon of soy sauce
- Keep stirring as the mixture comes to a gentle simmer and thickens – this takes about 5-7 minutes
- Season with salt, pepper, and nutmeg if using
- The sauce should coat the back of a spoon nicely but still be pourable
- If you’re adding sherry or mustard, stir them in now
Bringing It All Together
Assembly Time:
- Preheat the oven to 350°F and lightly grease a 9×13-inch baking pan
- Add your blanched, dried green beans to the mushroom sauce and fold everything together gently
- Make sure every bean is coated in that creamy mixture
- Pour the mixture into the prepared baking dish and spread it out evenly
- If you’re adding cheese, sprinkle it on now before the topping
The Crowning Glory:
- Mix your fried onions with the buttered panko if you’re using breadcrumbs
- Scatter this mixture generously over the entire surface – don’t be shy, that crispy topping is half the appeal
- Bake uncovered for 25 minutes until the sauce is bubbling around the edges and the topping is deep golden brown
- Let it rest for 5 minutes before serving so the sauce can set up slightly
How to Customize Your Casserole
Smoky Mushroom Version: Sauté an extra 8 oz of sliced mushrooms with 1 teaspoon smoked paprika until deeply browned. Fold half into the sauce and sprinkle the rest on top with the onions for intense umami flavor.
Extra Cheesy Comfort: Stir in 1 cup of shredded sharp cheddar into the warm sauce, then top with another 1/2 cup before adding the fried onions.
Lighter Take: Use half-and-half instead of whole milk, reduce butter to 3 tablespoons, and skip the breadcrumbs. You’ll still get plenty of flavor.
Fancy Mushroom Upgrade: Mix shiitake, oyster, and cremini mushrooms for a more complex, earthy flavor that tastes downright gourmet.
Garlic Herb Explosion: Double the garlic, add fresh rosemary with the thyme, and finish with a squeeze of lemon juice before baking.
Completely From Scratch: Make your own crispy fried onions by thinly slicing 2 large onions, dredging in seasoned flour, and frying until golden. It’s worth it.
Want to avoid common mistakes and nail this every time? Keep reading!
What Makes Fresh Green Beans Worth the Extra Effort
Here’s the honest truth: Canned beans are soft, nearly mushy, and have lost much of their fresh, vegetable-like flavor. When you make green bean casserole with fresh green beans, the beans have actual texture – they still have some snap – and they taste like green beans instead of just a vehicle for sauce.
The homemade mushroom sauce is richer and tastes like actual mushrooms instead of mushroom-flavored paste. You control the salt and consistency, and you know exactly what’s in there – no weird preservatives or mystery ingredients.
Look, let’s be real here – this is comfort food. It’s creamy, rich, and finished off with a crispy layer of fried onions. Nobody’s making green bean casserole to count calories. But using fresh vegetables and homemade sauce means you’re getting actual food, and you can feel good about serving it to your family. That counts for something.
Why Blanching Changes Everything
That quick blanch in boiling water followed by the ice bath does two important things. First, it sets the bright green color so your casserole looks appetizing instead of army-green. Second, it partially cooks the beans so they finish perfectly in the oven without turning to mush. Raw beans would be too crunchy, and fully cooked beans would be too soft after baking. This method hits the sweet spot.
The Secret Ingredient Nobody Expects
That teaspoon of soy sauce might seem weird in a classic American casserole, but it adds something called umami – that savory, deeply satisfying flavor that makes you want another bite. It doesn’t taste like soy sauce; it just makes everything taste more like itself. Same trick fancy restaurants use.
Choosing Your Green Beans Wisely
Not all green beans are created equal, and picking the right ones makes a noticeable difference in your final dish. Head to the produce section and look for beans that are firm, bright green, and snap easily when you bend them. They should be slender – about the thickness of a pencil or slightly thinner. Those thick, bulging beans are overgrown and tend to be tough and stringy.
Best Choices:
Haricots Verts (French Green Beans): These slender, delicate beans are the gold standard. They’re tender, sweet, and cook quickly. If you want to impress people, use these.
Regular Green Beans: The standard beans you find everywhere work perfectly fine. Just make sure they’re fresh and firm, not limp or blemished.
Yellow Wax Beans: For a visual twist, mix in some yellow beans with the green ones. They taste nearly identical but add a pretty color contrast.
What to Avoid:
Those huge, flat Romano beans are too thick and won’t work well in this recipe. Also skip any beans with brown spots, rust-colored patches, or that feel limp and bendy. Fresh is everything here.
Getting Ahead of the Holiday Rush
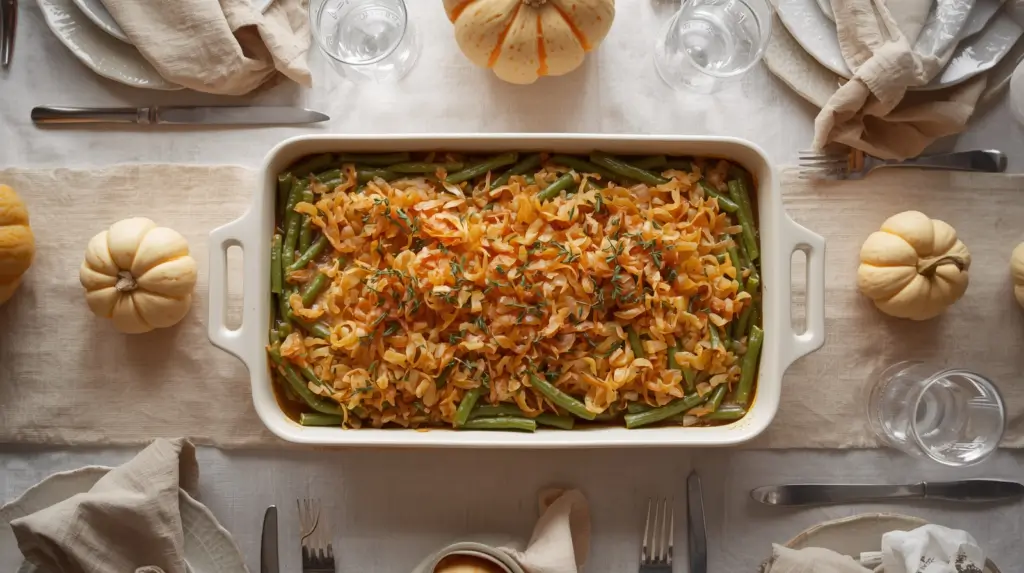
Let’s talk strategy for when you’re juggling seventeen dishes and three ovens on Thanksgiving. This green bean casserole with fresh green beans is actually perfect for making ahead, which is why it’s been a holiday staple for decades.
You can blanch the green beans up to 2 days ahead. Just store them in an airtight container in the fridge after they’re completely dry. The mushroom sauce can be made a full day ahead too – let it cool completely, then refrigerate it in a covered container. When you’re ready to bake, let both components come to room temperature for about 30 minutes, mix them together, top with your fried onions, and bake as directed.
If you want to assemble the entire casserole ahead, you can do that too. Put it together up to 24 hours in advance, but wait to add the fried onion topping until right before baking. Seal it tightly with plastic wrap and refrigerate. When it’s time to bake, remove the plastic, add your topping, and increase the baking time by 10-15 minutes since it’s starting cold.
Mistakes That’ll Sabotage Your Casserole
What Not to Do
Overcooking the Green Beans: This is the number one mistake. If your beans are fully cooked before they go in the oven, they’ll be mushy and sad by the time your green bean casserole recipe is done. Remember, they’ll cook more while baking.
Watery Sauce Disaster: If you don’t dry your blanched beans properly, all that water dilutes your sauce and makes it thin and runny. Pat them completely dry with a kitchen towel before mixing with the sauce.
Burning the Garlic: Garlic burns fast and turns bitter. Add it near the end when you’re cooking the mushrooms, and only cook it for about 30 seconds until fragrant.
Lumpy Sauce Nightmare: Add your liquid gradually while whisking constantly. If you dump it all in at once, you’ll get flour clumps that won’t dissolve. Slow and steady wins here.
Adding the Topping Too Soon: If you put the fried onions on before you refrigerate the assembled casserole, they’ll get soggy. Always add them right before baking.
Skimping on Seasoning: Vegetables need more salt than you think. Taste your sauce before mixing it with the beans and adjust the seasoning. It should taste slightly over-seasoned on its own because the beans will dilute it.
Pro Moves for Restaurant-Quality Results
The Secret Umami Boost: That teaspoon of soy sauce in the ingredients might seem weird in a classic American casserole, but it adds something magical called umami – that savory, deeply satisfying flavor that makes you want another bite. It doesn’t taste like soy sauce; it just makes everything taste more like itself. Same trick fancy restaurants use.
The Double-Crisp Topping: After baking, if your topping isn’t as crispy as you’d like, run it under the broiler for 2-3 minutes. Watch it like a hawk though – it goes from perfect to burned in seconds.
Roasted Mushroom Upgrade: Instead of sautéing all your mushrooms, roast half of them at 425°F for 15 minutes first. This concentrates their flavor and adds a deeper, earthier taste to your sauce.
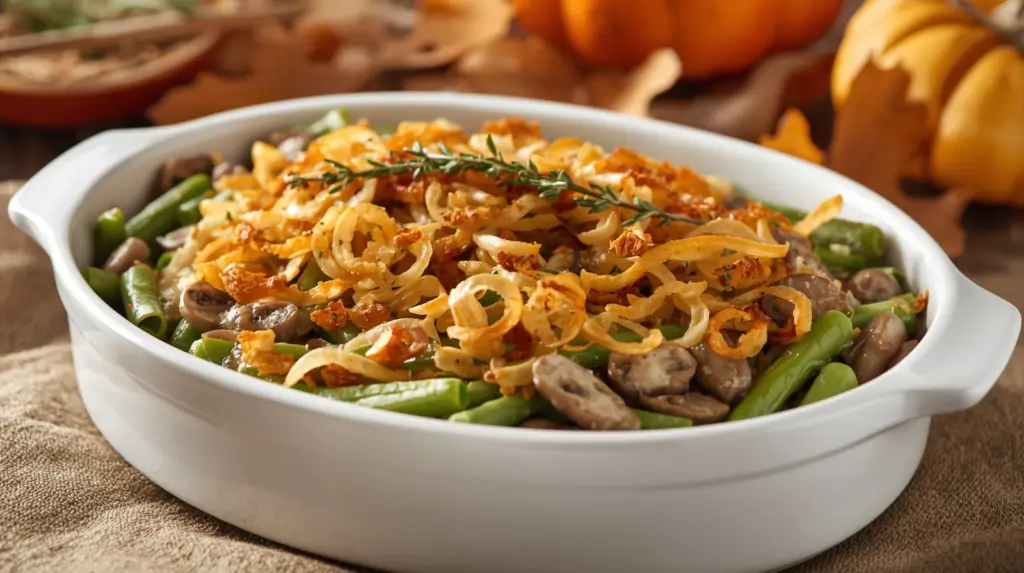
The Finishing Touch: Right before serving, scatter some fresh thyme leaves over the top. That little pop of green herb makes it look more elegant and adds a subtle fresh note.
Flavor Layering: Add a splash of white wine vinegar or a squeeze of lemon juice to the mushrooms as they cook for brightness and depth. Let it reduce completely before adding the flour.
How to Serve This Show-Stopping Side Dish
Making It Look as Good as It Tastes
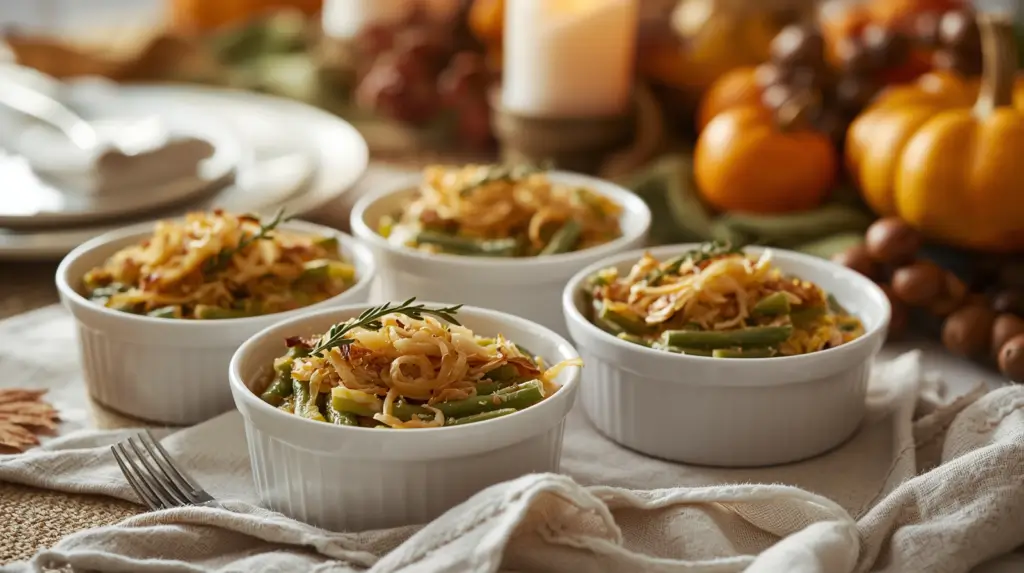
Don’t just plop this casserole on the table in the baking dish (though honestly, on a busy weeknight, who’s judging?). For company, I like to transfer portions to individual gratin dishes for a more elegant presentation. This green bean casserole with fresh green beans deserves to be shown off – garnish each portion with a small sprig of fresh thyme and an extra sprinkle of fried onions right before serving.
If you’re going family-style, make sure that topping is evenly distributed so everyone gets some of that crispy goodness. Nobody wants to be the person stuck with the onion-less corner piece.
What to Serve Alongside
Classic Holiday Spread:
- Herb-roasted turkey or glazed ham
- Creamy mashed potatoes with butter
- Homemade cranberry sauce with orange zest
- Buttery dinner rolls fresh from the oven
Weeknight Dinner Ideas:
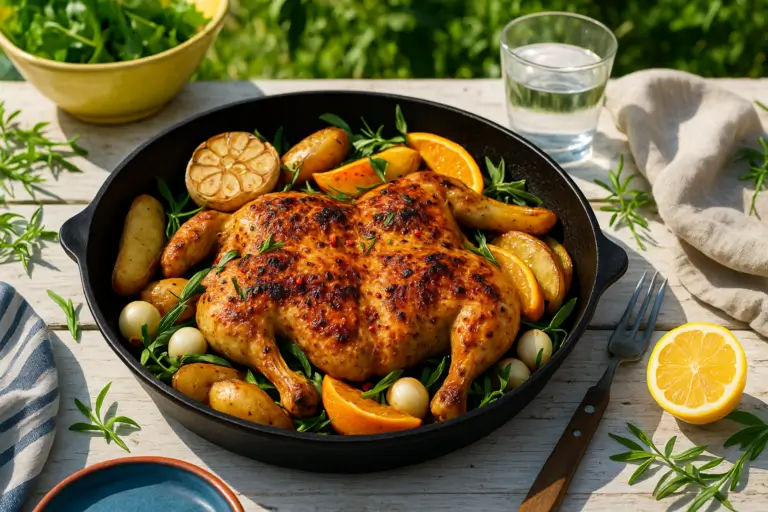
- Simple roasted chicken with lemon
- Grilled pork chops with apple compote
- Pan-seared salmon with dill butter
- Meatloaf with tangy glaze
For a Vegetarian Meal:
- Wild mushroom risotto
- Roasted butternut squash with sage
- Quinoa-stuffed bell peppers
- Warm spinach salad with pecans
Drink Pairings:
- Crisp white wine like Sauvignon Blanc
- Light Pinot Noir for red wine lovers
- Sparkling apple cider for a festive feel
- Iced tea with fresh lemon
Keeping Leftovers Delicious (If You Have Any)
Store any leftover green bean casserole in an airtight container in the fridge for up to 4 days. Let me be real with you though – those fried onions won’t stay crispy. They absorb moisture from the sauce and get soft. It’s still delicious, just different.
Reheating Without Ruining It:
The microwave works in a pinch, but your beans will get a bit softer. Heat in 1-minute intervals, stirring between each, until warmed through.
For better results, reheat in a 350°F oven. Spread the casserole in an oven-safe dish, cover with foil, and heat for about 15 minutes until hot. Remove the foil and add some fresh fried onions on top for the last 5 minutes if you want to recapture some of that crunch.
Creative Leftover Ideas:
Mix leftover casserole into scrambled eggs for a breakfast hash that’s weirdly addictive. Alternatively, you can cut it up and use it as a filling for omelets. I’ve also stirred it into cooked pasta with some extra cheese for a quick dinner that my kids actually eat without complaining.
You could even spread it on toasted bread with some melted cheese for an unconventional but tasty open-faced sandwich. Thanksgiving leftover creativity at its finest.
Common Questions About Making Green Bean Casserole
Is it okay to use frozen green beans instead of fresh ones? You can, but frozen beans are pre-blanched and tend to be softer. If using frozen for your green bean casserole with fresh green beans alternative, skip the blanching step entirely. Just thaw them completely, pat them very dry, and mix directly with your sauce. Your casserole won’t have quite the same texture, but it’ll still taste good.
Do I have to make the sauce from scratch? Technically no – you could use two cans of Campbell’s cream of mushroom soup if you’re in a time crunch. But honestly, the homemade sauce only takes 10 extra minutes and tastes so much better that I think it’s worth it. It’s also not difficult – if you can stir things in a pan, you can make this sauce.
Can I make this casserole dairy-free? Absolutely. Use olive oil instead of butter, and substitute the milk with full-fat oat milk or cashew cream. The sauce won’t be quite as rich, but it’ll still be creamy and delicious. Make sure your fried onions are dairy-free too – some brands contain milk powder.
Why is my sauce either too thick or too thin? If it’s too thick, thin it out with a bit more broth or milk, adding a tablespoon at a time until you reach the consistency you want. If it’s too thin, let it simmer a few minutes longer to reduce, or make a slurry with 1 tablespoon flour mixed with 2 tablespoons cold water and stir it in.
Can I make this in a slow cooker? You can, but you’ll sacrifice the crispy topping. Blanch your beans, make your sauce, combine everything in the slow cooker and cook on low for 3-4 hours. Add the fried onions in the last 15 minutes with the lid off if possible, but they won’t get truly crispy.
How can I avoid the casserole being too watery? Ensure your green beans are fully dry after blanching. Also, let your sauce thicken properly before mixing it with the beans – it should coat a spoon. If you’re adding frozen beans, drain any excess liquid. And don’t cover the casserole while baking – you want moisture to evaporate.
What size casserole dish should I use? A 9×13-inch baking dish works great for this recipe. If you only have a 9×9-inch dish, the casserole will be deeper, so add about 10 minutes to the baking time. You could also divide it between two smaller 8×8-inch dishes – one to serve now and one to freeze for later.
Ready to ditch the canned beans and make the best green bean casserole with fresh green beans your family has ever tasted? Fresh ingredients and a little extra effort transform this classic side dish into something people actually get excited about. Once you taste the difference in this fresh green bean casserole, you’ll understand why it’s worth those few extra minutes of prep.
Leave a Review
There are no reviews yet. Be the first one to write one.