Gluten Free Bread Recipes: Easy Homemade Loaves With Yeast & Yeast Free Options
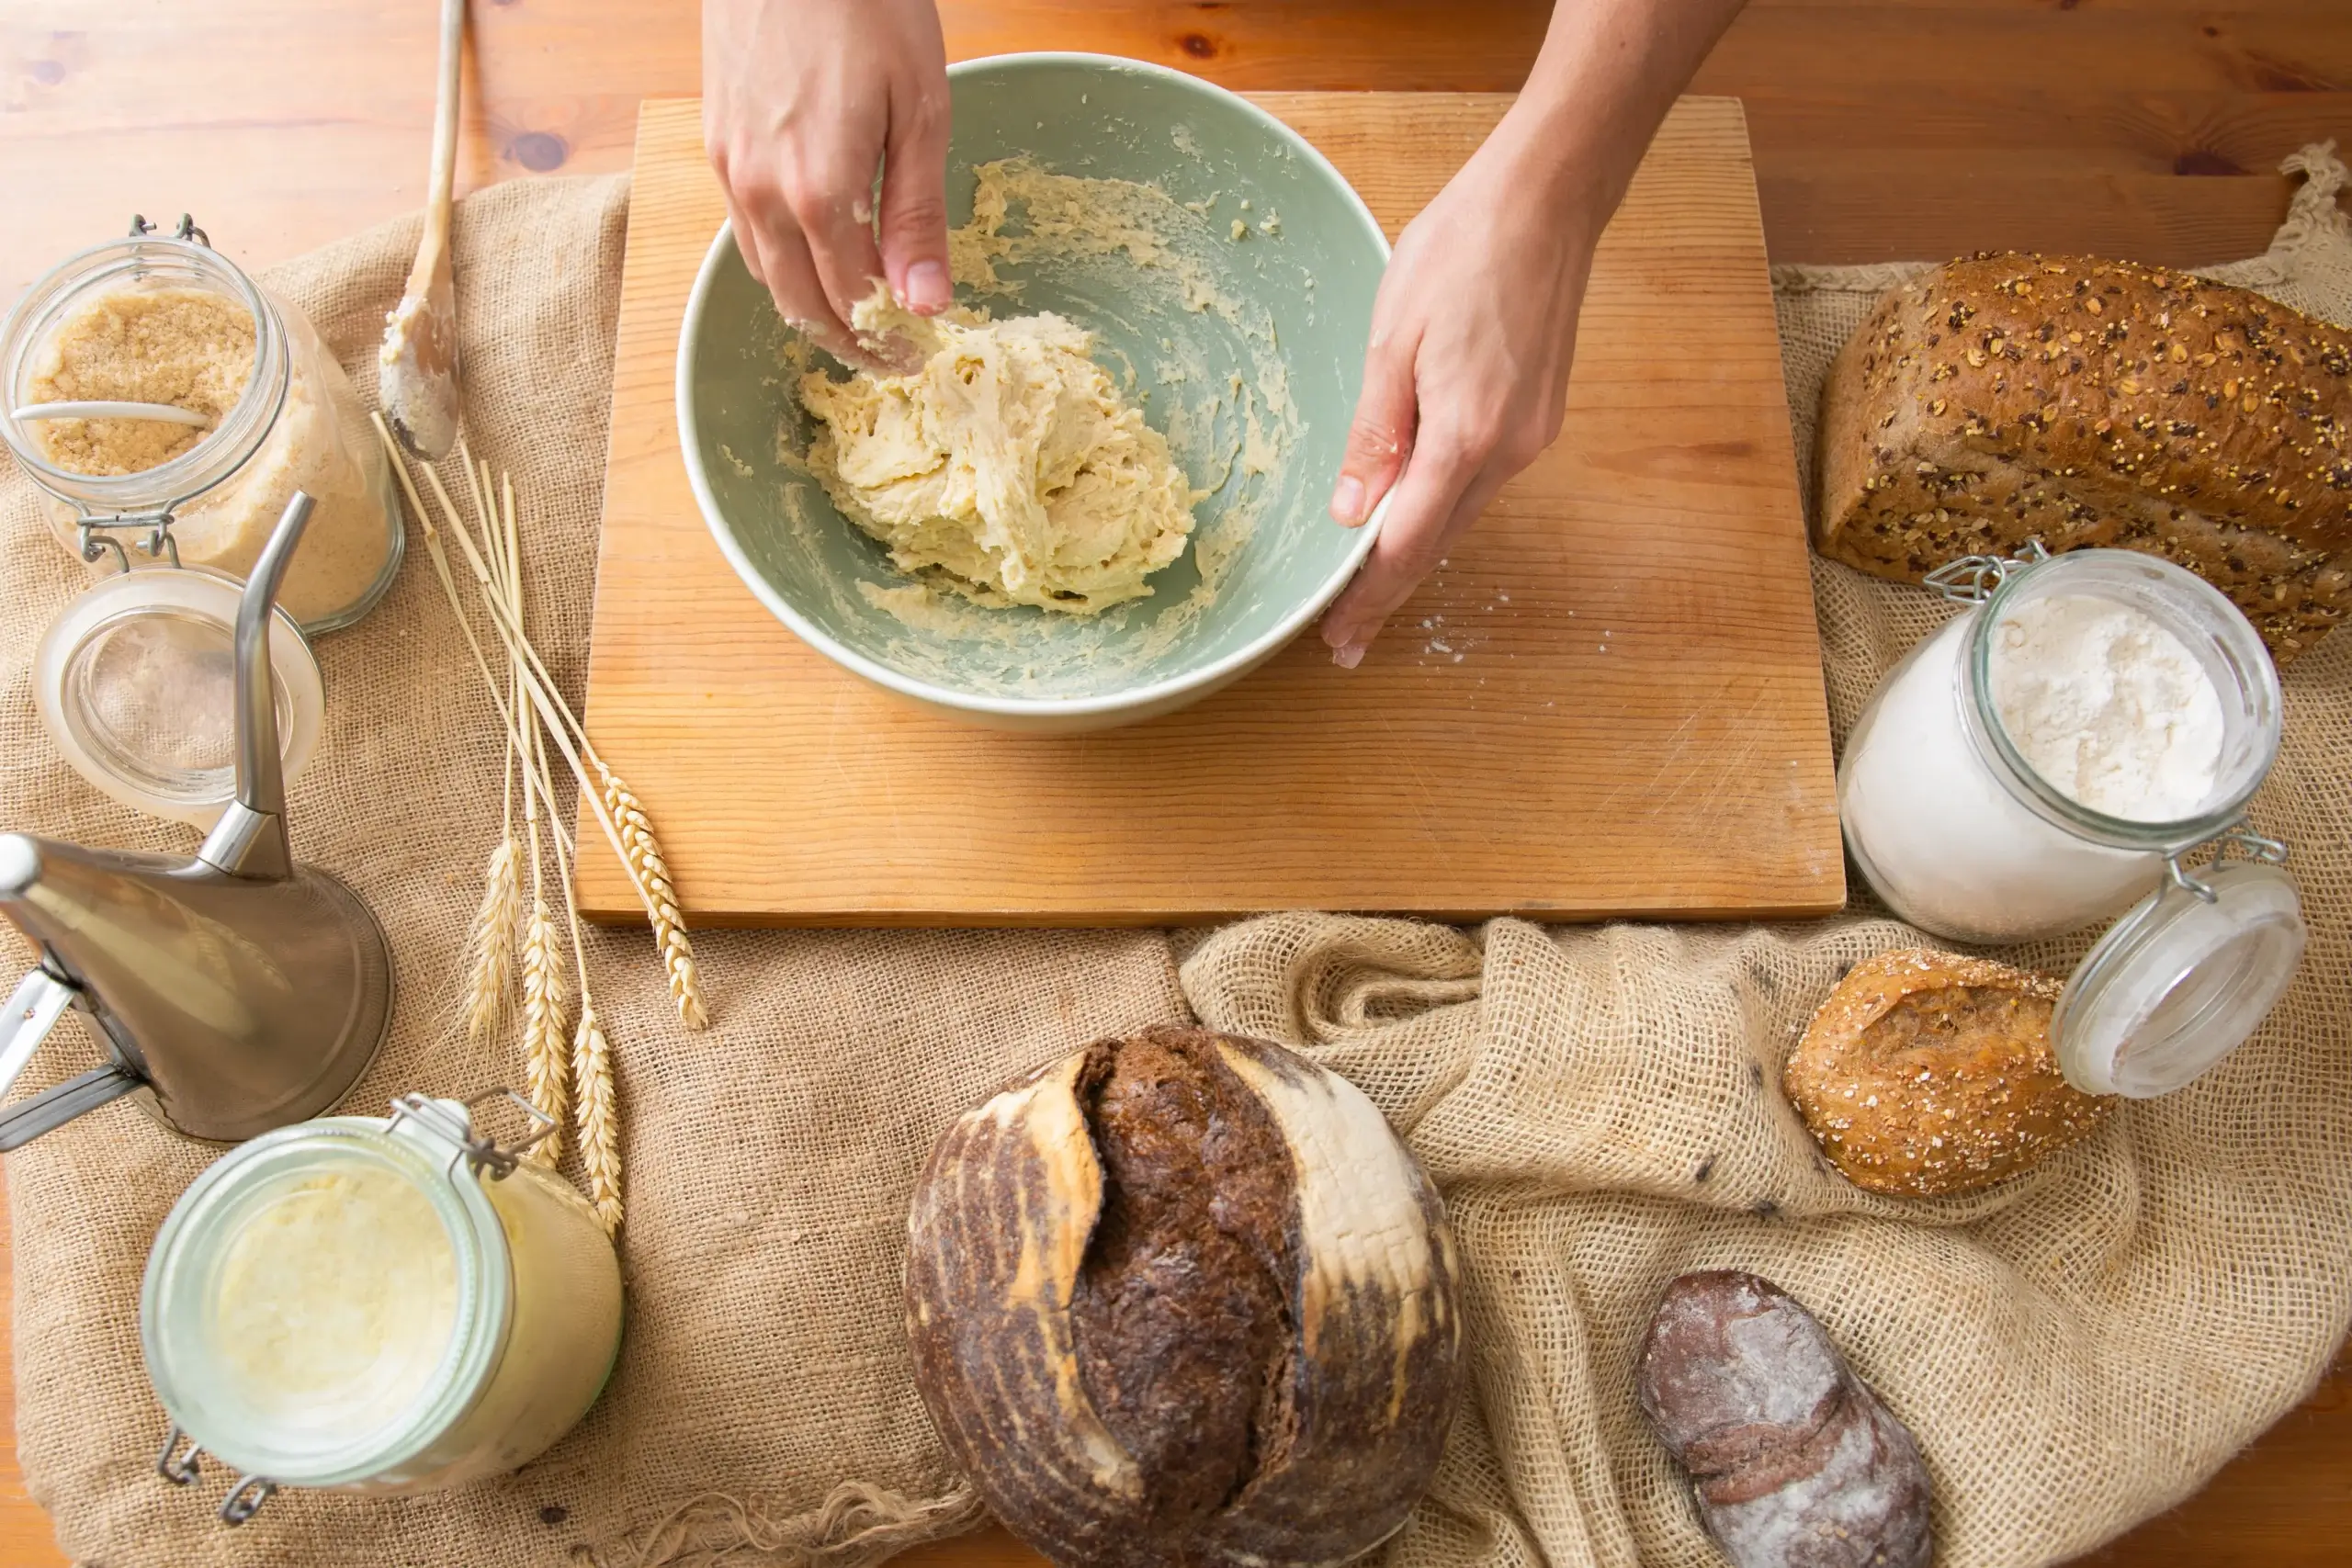
Do you remember the smell of fresh bread wafting through your home as a child? That moment when a warm slice meets butter and melts in your mouth? When gluten intolerance or other enters your life, these simple pleasures can feel lost forever.
But here’s the truth: gluten free bread can be absolutely delicious. Not just “good for gluten-free” but genuinely, wonderfully good. The kind your gluten-eating friends will steal from your plate when you’re not looking.
Whether you’re newly diagnosed or a seasoned gluten-free veteran, this guide will walk you through everything you need to know to create homemade gluten free bread that brings back those warm, comforting memories.
What You’ll Learn in This Guide
- The key differences between gluten free and traditional bread baking
- Must-have ingredients for delicious gluten- ree bread
- Step-by-step techniques for both yeast and yeast-free options
- Solutions for common gluten free baking challenges
- How to keep your bread fresh longer
- Recipes from everyday sandwich loaves to impressive artisan-style creations, plus our favorite gluten free bread recipes to inspire your own.
Let’s reclaim the joy of breaking bread together – no gluten required.
Table of Contents
Why Gluten Free Bread Is Different (And How to Make It Work)
Before diving into recipes, understanding a few key principles will dramatically improve your gluten free baking success.
The Role Gluten Plays in Traditional Bread
In conventional bread, gluten creates an elastic network that:
- Traps gas bubbles from yeast fermentation
- Provides structure as bread rises
- Creates that chewy texture we love
- Helps bread maintain its shape
Without gluten, we need to recreate these properties using alternative ingredients and methods.
The Gluten Free Flour Blend Secret
Creating exceptional gluten free bread starts with mastering your flour combination.
No single gluten free flour can replace wheat flour effectively. Instead, successful gluten free bread relies on a thoughtful combination of:
- Structural flours: Rice flour, sorghum flour, millet flour
- Protein boosters: Quinoa flour, amaranth flour
- Starches: Tapioca starch, potato starch, arrowroot
- Binders: Xanthan gum, psyllium husk, flaxseed
Each component plays a critical role in creating bread with good texture, flavor, and rise. While store-bought blends offer convenience, understanding these components empowers you to troubleshoot problems and customize recipes to your taste.
Hydration Matters More Than You Think
One of the biggest differences in gluten-free baking is hydration. Gluten free doughs:
- Require significantly more liquid than wheat doughs
- Often resemble thick batters rather than traditional dough
- Need proper hydration to activate binders like xanthan gum
- Must be adequately moist to prevent dry, crumbly results
A properly hydrated gluten-free dough might look too wet at first, but trust the process – this moisture is essential for a good final texture.
Essential Equipment for Gluten Free Bread Success
Setting yourself up for success begins with having the right equipment ready before you start measuring ingredients:
- Quality stand mixer with paddle attachment preferably for optimal incorporation (though a dough hook can also work, making sure to scrape down the sides of the bowl regularly for gluten-free batters)
- Digital kitchen scale for measurement accuracy
- Medium-weight loaf pans (lighter aluminum ones prevent over-browning)
- Good instant-read thermometer to determine when bread is fully baked
- Non-stick parchment paper for stress-free loaf removal
While not all these items are absolutely necessary, they dramatically increase your chances of success, especially when first learning gluten-free baking techniques.
Classic Gluten-Free Sandwich Bread (With Yeast)
A versatile, soft-crumbed loaf ideal for morning toast, lunch sandwiches, and dinner accompaniments.
Ingredients
- 3 cups (420g) gluten-free flour blend
- 2½ tsp xanthan gum (omit if your flour blend contains it)
- 1 tbsp active dry yeast
- 3 tbsp sugar
- 1½ tsp salt
- 1¼ cups warm water (about 110°F)
- 2 large eggs, room temperature
- ¼ cup olive oil or melted butter
- 1 tbsp apple cider vinegar
Step-by-Step Instructions
- Prepare your pan: Line a 9×5-inch loaf pan with parchment paper, leaving overhang on the long sides for easy removal.
- Prepare your yeast: In a small bowl, dissolve 1 teaspoon of sugar in the warm water, then sprinkle yeast over the surface. Allow it to rest undisturbed for 5-10 minutes until bubbles form and it develops a foamy layer on top.
- Mix dry ingredients: In the bowl of your stand mixer, whisk together gluten free flour blend, xanthan gum (if using), remaining sugar, and salt.
- Combine wet ingredients: In a separate bowl, whisk eggs, oil, and apple cider vinegar until well blended.
- Create the dough: With mixer on low speed using the paddle attachment, slowly add yeast mixture, then egg mixture to dry ingredients. Increase speed to medium and beat for 2-3 minutes. The dough will resemble a thick, sticky batter.
- First rise: Scrape dough into prepared pan, smooth the top with wet fingers, and cover with lightly oiled plastic wrap. Place in a warm spot to rise for 45-60 minutes, until dough has risen just above the edge of the pan.
- Bake: Preheat oven to 375°F during the final 15 minutes of rising. Remove plastic wrap and bake bread for 35-45 minutes until golden brown and internal temperature reaches 205-210°F.
- Cool properly: Remove bread from pan immediately using parchment paper handles. Cool completely on a wire rack before slicing (at least 2 hours) to prevent gumminess.
Key Tips for Success
- Don’t rush the mixing: That 2-3 minute beat at medium speed is crucial for structure development
- Wet your hands when handling the dough to prevent sticking
- Let the bread cool completely before slicing – this prevents a gummy interior
“The moment I realized my gluten free bread needed to cool completely before slicing was the day my bread went from mediocre to magnificent.” – A satisfied gluten free baker
Quick No-Yeast Gluten-Free Bread (Ready in Under an Hour)
Perfect for days when you need bread quickly or don’t have yeast on hand. This is a gluten free bread recipe easy enough for beginners but delicious enough for everyone.
Ingredients
- 2 cups (280g) quality gluten-free flour blend
- 1 tsp xanthan gum (omit if your flour blend contains it)
- 1 tbsp baking powder
- 1 tsp baking soda
- 1 tsp salt
- 1½ cups buttermilk or milk alternative + 1 tbsp lemon juice
- 3 large eggs
- ¼ cup melted butter or oil
- 1 tbsp honey or maple syrup
- 1 tsp apple cider vinegar
Step-by-Step Instructions
- Get your oven and pan ready: Set your oven temperature to 350°F. Cut parchment paper to fit your 8×4-inch loaf pan, leaving some overhang for easy removal.
- Combine your dry components: Using a large mixing bowl, thoroughly whisk the flour blend with xanthan gum, baking powder, baking soda, and salt until evenly distributed.
- Combine wet ingredients: In a separate bowl, whisk together buttermilk, eggs, melted butter, honey, and apple cider vinegar.
- Make the batter: Pour wet ingredients into dry ingredients and mix until well combined, about 1 minute. The batter will be fairly thick but pourable.
- Bake immediately: Transfer batter to prepared pan, smooth the top, and bake for 40-45 minutes until golden brown and a toothpick inserted in the center comes out clean.
- Cool: Let bread cool in the pan for 10 minutes, then remove to a wire rack to cool completely before slicing.
What Makes This Work
This quick bread uses baking powder and baking soda for lift instead of yeast. The acid from buttermilk and apple cider vinegar activates the leavening agents while also improving flavor. While this bread has a different texture than yeast bread, it’s perfect for toast, sandwiches, and alongside soups.
Artisan-Style Gluten-Free Bread Bowl
Impressive enough for company, practical enough for everyday.
Ingredients
- 3½ cups (490g) high-quality gluten-free flour blend
- 2 tsp xanthan gum (omit if your blend contains it)
- 2 tsp salt
- 2 tbsp psyllium husk powder (not whole husks)
- 2 tsp active dry yeast
- 2 cups warm water (about 110°F)
- 2 tbsp olive oil
- 1 tbsp honey or maple syrup
- 1 large egg white for brushing (optional)
Step-by-Step Instructions
- Prepare: Line a baking sheet with parchment paper and dust lightly with gluten-free flour.
- Activate yeast: In a small bowl, mix warm water with honey and sprinkle yeast on top. Let sit until foamy, about 5-10 minutes.
- Mix dry ingredients: In a large bowl, whisk together flour blend, xanthan gum, salt, and psyllium husk powder.
- Create your dough: Add the activated yeast mixture and olive oil to your dry ingredients. Stir until initially combined, then use an electric mixer at medium speed for 3-4 minutes to develop structure. The resulting dough will feel sticky but should maintain some shape when gathered.
- Shape and proof your dough: Dampen your hands with water and gently form the dough into a round boule shape on your prepared baking sheet. Place a large upside-down mixing bowl over the dough (creating a mini proofing chamber) and let it rise somewhere warm for 60-90 minutes until it expands visibly.
- Bake: Preheat oven to 425°F during the final 20 minutes of rising. Brush loaf with egg white if desired for a shiny crust. Using a very sharp knife or razor blade, create several decorative cuts about ¼-inch deep across the top surface.
- Generate steam for better crust: Before preheating, position a shallow, heatproof dish on the bottom oven rack. When you’re ready to bake, carefully pour 1 cup of boiling water into this dish as you place your bread in the oven to create a steamy environment.
- Finish baking: Bake for 40-45 minutes until deeply golden and hollow-sounding when tapped on the bottom. Cool completely on a wire rack.
Turning It Into a Bread Bowl
- After the bread has cooled entirely, use a serrated knife to carefully carve a circular opening in the top portion
- Carefully hollow out the center, leaving a ½-inch shell
- Brush the inside with olive oil and bake at 325°F for 10-15 minutes to crisp
- Fill with your favorite soup or dip
This artisan loaf features a beautiful crusty exterior and soft interior, perfect for dipping in olive oil or serving alongside your favorite soup.
Understanding Gluten-Free Flours: A Quick Guide
Different flours create different results. Here’s a quick reference to help you understand common gluten-free flours:
| Flour Type | Flavor Profile | Best Uses | Protein Content |
|---|---|---|---|
| Rice Flour | Neutral, slightly gritty | All-purpose base | Low |
| Sorghum Flour | Mild, slightly sweet | Breads, cookies | Medium |
| Millet Flour | Slightly nutty | Yeast breads, muffins | Medium |
| Buckwheat Flour | Bold, earthy | Hearty breads, pancakes | High |
| Almond Flour | Rich, nutty | Dense breads, pastries | High |
| Cassava Flour | Neutral | Good wheat substitute | Low |
| Tapioca Starch | Neutral | Provides elasticity and chewiness | Very low |
| Potato Starch | Neutral | Adds moisture | Very low |
Remember: The best gluten-free breads typically use a combination of flours and starches rather than a single flour.
Troubleshooting Common Gluten-Free Bread Problems
Even experienced bakers encounter challenges with gluten free bread. Here are solutions to common issues:
Bread Sinks in the Middle
Possible causes:
- Too much liquid
- Over-rising before baking
- Oven not hot enough when bread went in
Solutions:
- Reduce liquid by 2-3 tablespoons
- Let bread rise just until top of dough reaches top of pan, not beyond
- Ensure oven is fully preheated before baking
Dense, Heavy Texture
Possible causes:
- Insufficient leavening
- Under-mixing
- Not enough hydration
Solutions:
- Verify your yeast’s effectiveness by ensuring it bubbles properly during activation
- Don’t skimp on mixing time—it develops crucial structure in gluten-free doughs
- Consider incorporating 2-3 additional tablespoons of liquid if your dough seems too firm
Crumbly, Falls Apart Easily
Possible causes:
- Not enough binders
- Cutting while still warm
- Inadequate mixing
Solutions:
- Add ½ teaspoon more xanthan gum or 1 tablespoon ground flaxseed
- Let bread cool completely (minimum 2 hours) before slicing
- Ensure ingredients are thoroughly incorporated during mixing
Gummy Interior
Possible causes:
- Under-baking
- Too much moisture
- Cutting while warm
Solutions:
- Check doneness by inserting an instant-read thermometer into the center—the bread is ready when it registers between 205-210°F
- Bake 5-10 minutes longer if needed
- Allow bread to cool completely before slicing
Storing Gluten-Free Bread for Maximum Freshness
Gluten-free bread stales more quickly than wheat bread. Here’s how to keep it fresh:
Short-Term Storage (1-2 days)
- Keep your bread in a sealed container at comfortable room temperature
- For cut loaves, position them cut-side down on a board with the exposed surface protected
Medium-Term Storage (3-4 days)
- Wrap tightly in plastic wrap, then in foil
- Store in the refrigerator (unlike wheat bread, gluten-free bread often does better refrigerated)
Long-Term Storage
- Slice completely cooled bread
- Place parchment paper between slices
- Store in freezer bags with air removed
- Freeze for up to 3 months
- Toast or microwave directly from frozen
Pre-slicing before freezing allows you to take just what you need each time.
Beyond Basic Bread: Creative Variations
Once you’ve mastered the basics, try these variations:
Herb and Garlic Bread
Add 2 tablespoons fresh chopped herbs (rosemary, thyme, basil) and 2 minced garlic cloves to your basic recipe.
Cinnamon Raisin Bread
Add 2 teaspoons cinnamon, ½ cup raisins, and increase sugar to ¼ cup in your sandwich bread recipe.
Multi-Seed Bread
Add ¼ cup mixed seeds (sunflower, pumpkin, flax, chia) to your dough for added nutrition and texture.
Olive and Rosemary Focaccia
Press the prepared dough into an oiled baking dish, creating indentations throughout with your fingertips. Generously drizzle with extra virgin olive oil, then scatter chopped olives and fresh rosemary over the surface before baking.
Key Takeaways for Gluten-Free Bread Success
- Measure accurately – preferably by weight rather than volume
- Mix thoroughly – gluten-free bread needs more mixing than traditional bread
- Embrace the wet dough – proper hydration is critical for good results
- Create structure – with the right blend of flours and binders
- Be patient during cooling – cutting too soon ruins texture
- Trust your instincts – adjust recipes as needed for your climate and ingredients
Remember that gluten-free baking is both a science and an art. Don’t be discouraged by initial failures – each attempt teaches you something valuable.
Frequently Asked Questions
Can I substitute regular flour for gluten-free flour in my favorite bread recipe?
Simply substituting gluten-free flour in a conventional recipe rarely works well. Gluten-free bread requires different hydration levels, additional binders, and modified techniques. Start with recipes specifically developed for gluten-free baking until you understand the principles well enough to adapt favorites.
Why does my gluten-free bread have a gritty texture?
That sandy texture typically results from using standard rice flour rather than finely-milled varieties. Search for “superfine” labeled rice flour products, or experiment with blends containing predominantly smoother-textured flours such as sorghum or millet. Ensuring proper liquid ratios and extended mixing times also significantly reduces textural issues.
Is it cheaper to make my own gluten-free flour blend?
Definitely! Creating homemade blends generally costs significantly less than commercial products, particularly for regular bakers. Purchasing component flours in larger quantities and preparing custom mixtures for specific recipes not only reduces expenses but also gives you complete control over the formulation.
Can I make gluten-free bread without xanthan gum?
You certainly can! Many gluten-free bakers actually prefer psyllium husk powder as a more natural binding option. Use 2-3 times the amount of psyllium as you would xanthan gum. Ground flaxseed gel (1 tablespoon ground flax mixed with 3 tablespoons hot water) can also work well in many recipes.
How can I add more fiber to my gluten-free bread?
Incorporate approximately 2-3 tablespoons of nutritious seeds like ground flaxseed or chia, or add psyllium powder directly to your dry ingredients. Using some whole grain gluten-free flours like sorghum, buckwheat, or teff instead of just starches also increases fiber content significantly.
Why doesn’t my bread rise well?
Check that your yeast is fresh and active, your rising environment is warm enough (75-85°F is ideal), and you’ve included enough structure-building ingredients like protein-rich flours and binders. Adding 1/4 teaspoon more baking powder or an extra 1/2 teaspoon yeast can also help.
Conclusion: Your Gluten-Free Bread Journey
Learning to bake gluten-free bread is truly a journey, not a destination. Each loaf teaches you something new about the ingredients, your oven, and the techniques that work in your unique kitchen environment. The recipes shared here are starting points – foundations upon which you can build and customize to suit your taste preferences and dietary needs.
Remember that behind every perfect gluten-free loaf shared on social media are likely dozens of less-than-perfect attempts. Embrace the process, celebrate the successes, learn from the failures, and most importantly – enjoy the simple pleasure of creating something nourishing with your own hands.
While gluten-free bread may require a different approach than traditional baking, the reward of pulling a perfect golden loaf from your oven is just as sweet – perhaps even sweeter for the challenge overcome. Your friends and family may not even realize they’re eating gluten-free bread… until they ask for seconds.
What gluten-free bread will you create today?
Leave a Review
There are no reviews yet. Be the first one to write one.

